E3 - Equipment Energy Efficiency
Help Section - Applicant Management
Last updated 16 October 2018
Searching For Applications Or Registrations
The following page will show you how to search for applications or registrations in the Energy Rating Product Registration System.
Watch our video walkthrough to see how to search for applications or registrations:
Alternatively, you can follow the detailed instructions outlined below:
Searching for single applications or registrations
To search for a single registration or application:
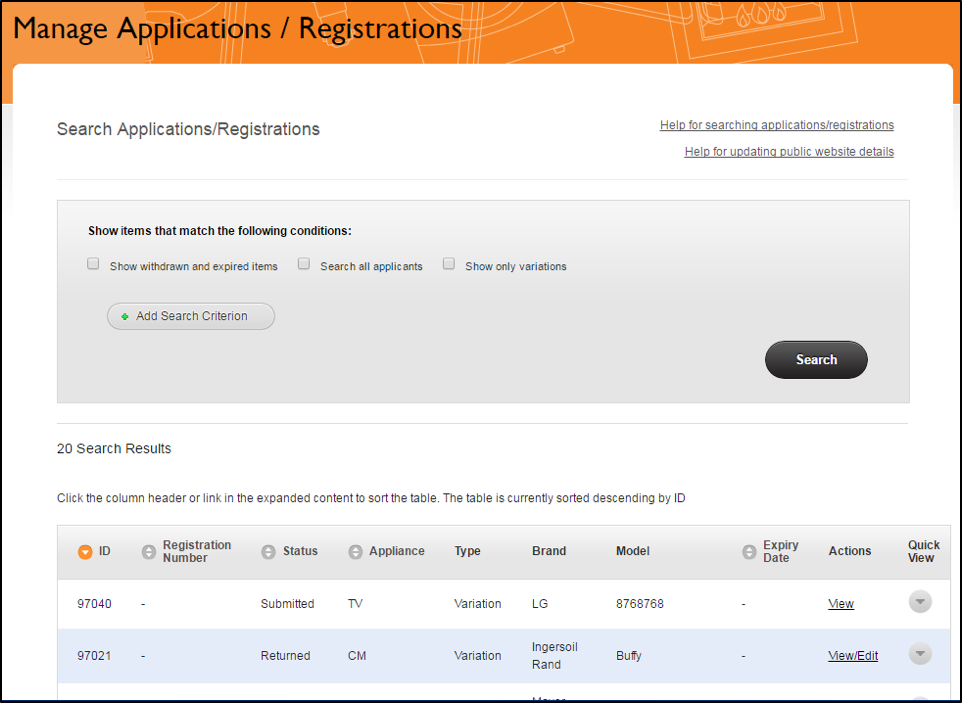
- Select the “Applications / Registrations” link from the Dashboard page. The Manage Applications / Registrations page displays (see Figure 1 below).
Figure 1: Manage Applications/Registration page
-
Select the “Add Search Criterion” button. The search criterion
line displays. Select one of the options, if relevant:
- Show withdrawn or expired items
- Search all applicants
- Show only variations
-
From the “search criteria” drop-down list, select either:
- Status
- Registration ID
- Appliance Type
- Registration Date
- Regulatory Standard
- Model Number
- Registration Number
- Brand Name
- Complete the search criteria. Remove a search criteria line by selecting the “Remove” button.
- Select the “Search” button. The search results display.
Searching for bulk applications
To search for a bulk application:
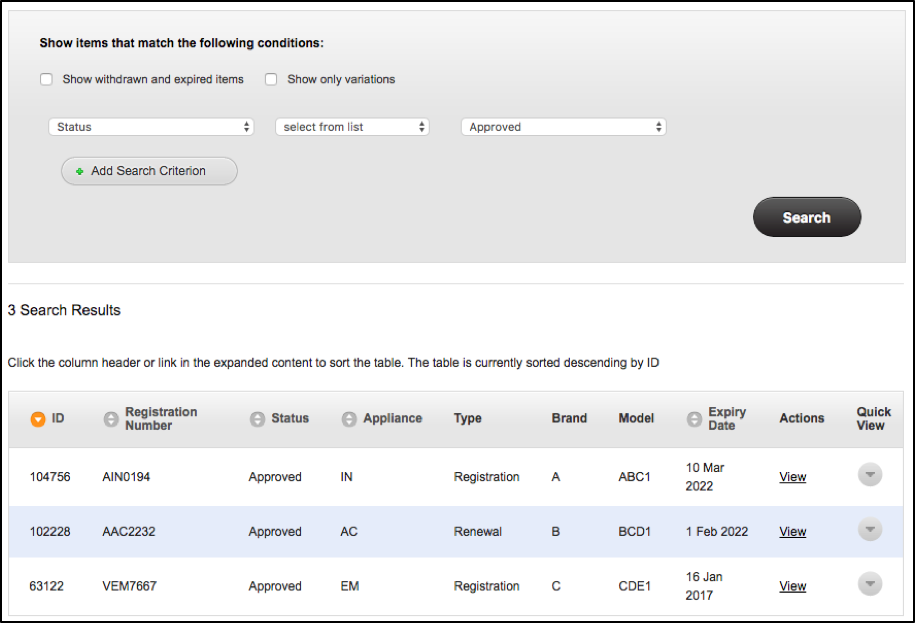
- Select the “Applications / Registrations” link from the Dashboard page. The Manage Applications / Registrations page displays (see Figure 2 below).
Figure 2: Manage Applications / Registrations page
- Select the “Bulk Applications Uploads” link at the bottom of the page. See Figure 3 below.
Figure 3: Bulk Application Uploads link

- Select the “Add Search Criterion” button. The search criterion line displays.
-
From the “[search criteria]” drop-down list, select either:
- ID
- Status
- Creation Date
- Appliance Type
- Complete the search criteria. Note you can remove a search criteria by selecting the “Remove” button.
- Select the “Search” button. The search results display.
Download search results
To download your search results as a CSV file (a comma separated file format that can be opened in Excel):
- Scroll to the bottom of the page after the search results have loaded (see Figure 4 below).
Figure 4: Downloading the search results
- Select the “Download Search Results” link. See Figure 5 below.
Figure 5: Download Search Results link

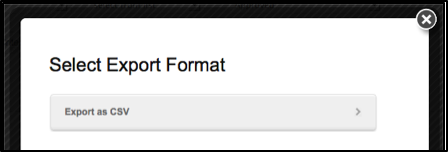
- A new pop-up page, “Select Export Format”, appears - see Figure 6 below. Select the “Export as CSV” button.
Figure 6: Export Format window
- Choose a location to save your file, if prompted by your browser.
- The search results will be saved to your computer.
Save a search
To save a search:
- Conduct your search as per the instructions on the previous pages.
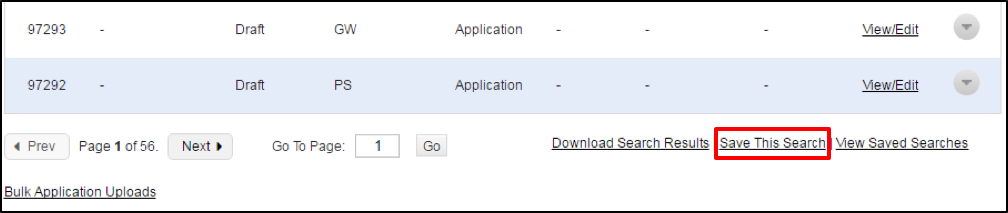
- The Search Results will appear. Scroll down to the bottom of the page and select “Save This Search” as shown in Figure 7 below.
Figure 7: Save This Search
- A pop-up page as shown in Figure 8 below will appear. Type in the name of what you would like to call this search.
Figure 8: Save Search pop-up page
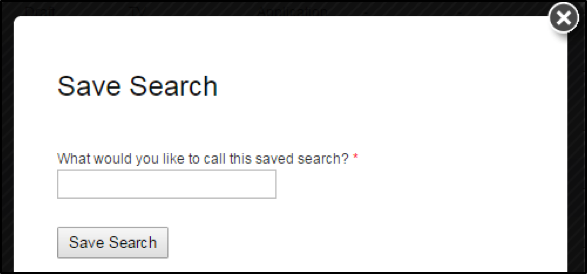
- Select “Save Search”.
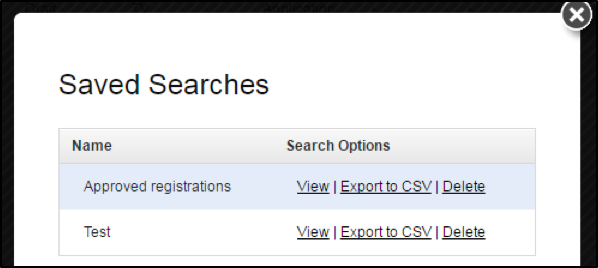
- The pop-up will re-load and you will be directed to a “Saved Searches” page as shown in Figure 9 below.
Figure 9: Save Search pop-up page
-
It will show you the list of searches you have saved, along with a
list of actions you can take:
- To run the search again, select “View”.
- To download the search results in an Excel file, select “Export to CSV”.
- To delete the search entirely, select “Delete”, and when the page re-loads, select “Delete Search” on the next page.
Access saved searches
To access your list of saved searches:
- Select the “Applications/Registrations” tab.
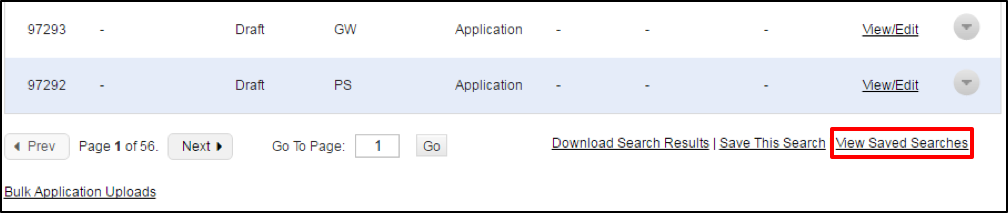
- Scroll down to the bottom of the page – select “View Saved Searches” as shown in Figure 10 below.
Figure 10: View Saved Searches link
-
A pop-up as shown in Figure 11 below will appear, containing
all of your saved searches, along with some actions you can
take for each search:
- To run the search again, select “View”.
- To download the search results in an Excel file, select “Export to CSV”.
- To delete the search entirely, select “Delete”, and when the page re-loads, select “Delete Search” on the next page.
Figure 11: Save Search pop-up page
