E3 - Equipment Energy Efficiency
Help Section - Submitting an Application for Registration
Last updated 10 October 2018
Public Website
On this page, you can specify what details, including images and manuals, you want to appear on the public website (also known as the Public Registration Database). For more information on the Public Registration Database, click here.
Watch our video walkthrough to see how to complete this page.
Alternatively, you can follow the detailed instructions outlined below.
Figure 1: Public website page – Product Availability section
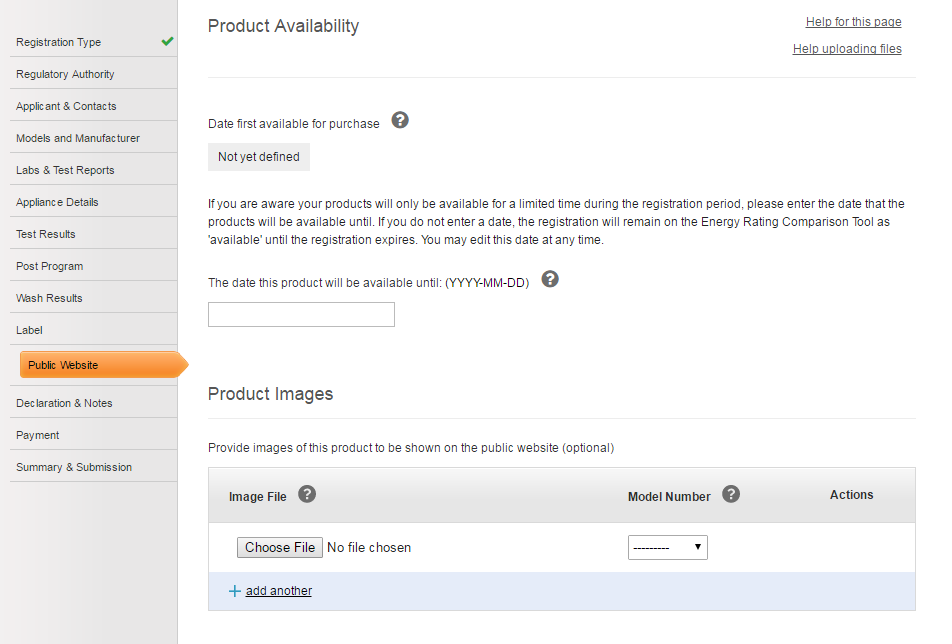
To complete the Product Availability section:
- In the “The date this product will be available until” text box, select the date this product will be available until, if the product is only going to be available for a limited time. The product will then only appear on the public registration database as ‘Available’ for the period of time specified.
- If we do not select a date, the product will be listed on the public registration database as ‘Available’ until the product’s registration expires.
Figure 2: Public website page – Product Images section
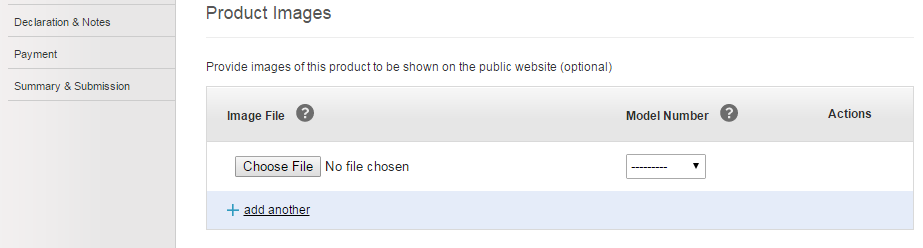
Under this section, you can upload some images of your product, which will be made available on the Public Registration Database. If you upload one or more images, the Model number will appear as a hyperlink in the search results. This link will open a new window with links to the image or images you have uploaded.
To complete the Product Images section:
-
Select the “Browse” or “Choose File” button (depending on your
browser), locate the image on your computer and select “Open”
to attach it to the application.
To remove an image, select the “remove” link under the Actions column next to the image. This link will only appear after you have selected the “Save” or “Save and Continue” buttons. - At the “Model Number” field, select the model number that applies to the image from the drop-down menu provided. The model numbers in this list are taken from the models you entered on the Models & Manufacturer screen.
- To add another product image, select the “add another” link and repeat steps 1 & 2.
Figure 3: Public website page – Product Website section

To complete the Product Website section:
- Enter the link to the website that you would like to appear on the Public Registration Database in the text box provided.
Figure 4: Public website page – Product User Manual section

Note: This section will be optional or mandatory depending on the product you are registering.
To complete the Product User Manual section:
- To upload a product user manual, select the “Browse” or “Choose File” button (depending on your browser), locate the manual on your computer and select “Open” to attach it to the application.
- To remove a product manual, select “Clear” and then select the “Save” button. Note this can only happen after you’ve selected the “Save” or “Save and Continue” buttons.
